Mortal Shell II Walkthrough — Sester's Refuge (The Monastery & the Censer)
Published 2026-09-177 min read
Full monastery walkthrough for Mortal Shell II: the teleport shortcut, Sister Genessa Seneda and the Censer boss fight, the mad monk arena, the tribute chest, and the road to the Cursed Child weapon.
The monastery is where Mortal Shell II hides one of its best Shells behind a censer, and one of its best dungeons behind a teleporter. This route runs the courtyard, the interior, and the weapon vault at the bottom.
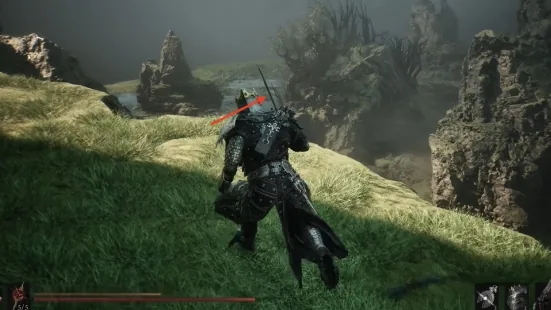
In through the gate
From Marrow Keep, teleport to the Outskirts of Mammon, take the main gate road and turn left. The teleport portal here skips the monastery's long approach — though the descent road past it holds NPC Vlas and plenty of Blood Seeds for the patient. The far portal lands you in the monastery itself.
Clear the mobs to the great open court of sisterly afterimages, and interact with the censer at its heart. Inside: the mini-boss Genessa Seneda — beat her for the Nun's Censer, the item that unlocks the Genessa Shell when returned to Marrow Keep.
Up the air currents
Exit through the marked door and ride the air-current devices upward to the bridge and its second portal. Crossing unlocks the Monastery Entrance Beacon. Cleanse it, then enter the Fool's Realm: clear the mobs, pocket the key in the corner, open the great door, and drop into the cavern of the Mad Monarch mini-boss — his Monarch's Vestige drops on death. Collect the Ova and ride back up.
The nuns' sanctuary
Continue up, clear the courtyard, and enter the Nuns' Sanctuary. Bear right, descend the stairs, break the boards to the outside, and meet Ruk at the end for Mammon Map Fragment 1. The outer gallery descends past mobs to a trial — completion pays a Backplate Stone — and loops back to the censer court. Head back up to the trial site: an iron door seals a chest that demands three tributes, scattered along the marked routes. Pay them all for the Nightgrasp Stone.
Back at the Entrance Beacon, rest, then re-enter the sanctuary: stairs up, drop down, into the cavern. Smash the four glowing signposts to open the hidden door — behind it, a Revered Gland and a Backplate Stone. Ride the air current back to the sanctuary, clear it, and open the iron-door chest for the Devout Stone.
The sisters' gate and the Cursed Child
Down the stairs, the Sisters' Gate Beacon unlocks after the mob wave. Retrace to the fork and follow it to the end — drop down at the corner into the Revered Beacon dungeon, where the Cursed Child weapon waits behind its beam-tower puzzle.
Ride the elevator back to the Sisters' Gate, cleanse, and return to the court: kill the mobs, ring the bell to raise the road, cross, ring the second ancient bell — and the Twin Sisters mini-boss bars the way. Her drops are the Black Needle weapon and the Nun's Badge. Cleanse the Ova, teleport home to Marrow Keep, and speak with the nun: the Genessa Shell is yours.
Keep reading: