Mortal Shell II Walkthrough — Gloomshade Grove (Trials, Dungeons & the Sackhead Gate)
Published 2026-09-176 min read
Complete Gloomshade Grove walkthrough for Mortal Shell II: the trial that awards the Bombardment Stone, the Ravaged Hideout dungeon, the Conjuror's Hideout puzzle dungeon, and the Sackhead you must visit before the ending.
Gloomshade Grove is Fainweald's western tangle: a trial, two dungeons, a world-boss gate, and one very important NPC whose quest line you must start before finishing the game. Save before the ending, as the guide says — and read on.
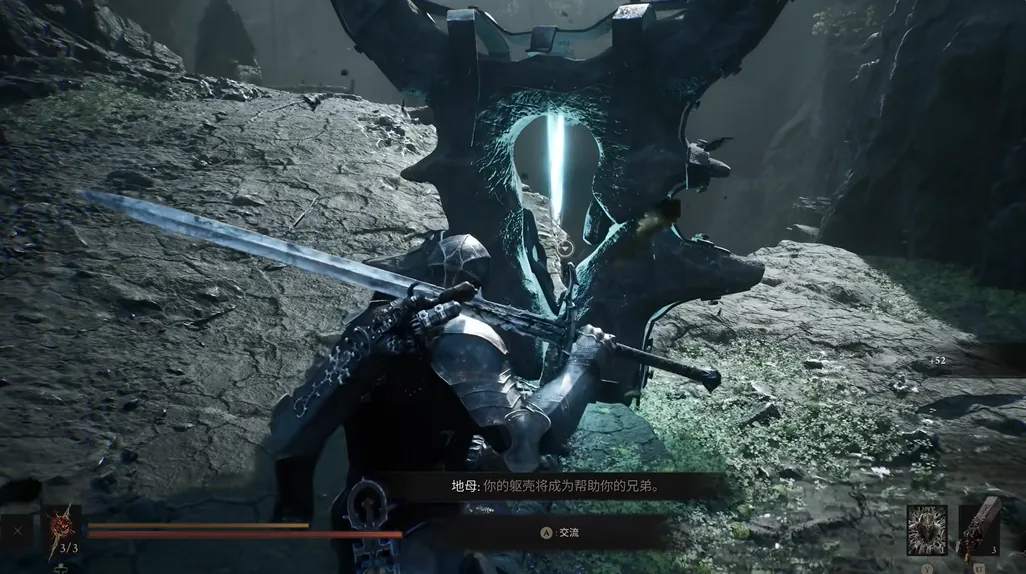
Trial first: the Bombardment Stone
Fast travel to the Gloomshade Grove Beacon and hug the right-hand wall as you descend. The trial challenge waits below — win it for the Bombardment Stone Tarstone. Then leap from beside the large tree and continue along the route's drop-down.
The Bloodcursed Lithopod and the Ravaged Hideout
The road leads to the Bloodcursed Lithopod world boss. Kill it for the Fortress Gate Lever, which opens the derelict hideout dungeon beside the arena:
- Break the crate and slip through the gap into the hideout.
- Hug the right wall, clear the chamber.
- Open the chest for Nochte's Fang, then follow the left-hand road.
- Slip through the right-hand wall crack and wait by the corpse — its ambush dies to patience. Loot the corpse for the Salvaged Trebuchaxe sidearm.
The Conjuror's Hideout: the bell puzzle
Further along the ridge, past the meditation point and the red stone on the rocks, the road reaches the Conjuror's Hideout — the grove's puzzle dungeon:
- Break the crates and pass the stone door — attacking the marked wall turns it into a passage.
- Climb the steps, break the crate, and shoot the distant bell with a ranged weapon. A road rises.
- Cross, pull the device to its marked position, and pass back through the stone door — the chest room is now open. Inside: the Tremor Stone Tarstone and the Lavender's Robe cosmetic.
- Two more marked walls hide in the room's rear — break both for bonus items.
Before you leave: the Sackhead
The Sackhead NPC stands just left of the dungeon's exit. His quest leads to the game's secret ending — and it must be started before you unlock the real one. Our dedicated guide covers the full dialogue route.
Keep reading: