Mortal Shell II Walkthrough — Withered Shoals (Gates, Portals & the Hexapod)
Published 2026-09-176 min read
Full Withered Shoals walkthrough for Mortal Shell II: the Fall Gate road, the Backplate Stone and Mystery Remains loop, the Bone-Stone Waterfall and Nameless Path beacons, and the Hexapod boss at the bottom of the pit.
The Withered Shoals — the southwest Fall Gate of the Ruins of Mammon — is a district of portals and bird-skull landmarks, ending in a pit fight with a very large bug. This route covers the whole gate.
In the gate
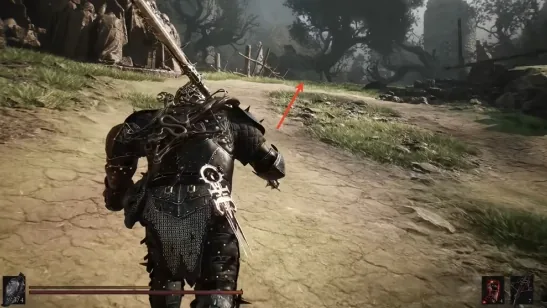
Enter the Fallen Gate and run the straight road, clearing mobs. Down the stairs, the inner road yields a Mammon Coin before the Withered Shoals proper opens. Sweep the snail mobs along the road; at the marked spot, go right first to find a portal — and a Backplate Stone beneath the giant bird skull.
The portal loop
Take the portal: an elite Strange Grishash waits on the other side, dropping Grishash Residue, a Backplate Stone, and the Mystery Remains. Portal back and continue: clear the great clearing, sweep its Red Stone, and push on to unlock the Bone-Stone Waterfall Beacon.
Cleanse it and enter the Shell-Shedding Hollow behind it, clearing the mobs below and collecting the Ova. Before leaving the falls proper: behind the waterfall, a sheep and the Sluggish Stone wait in the back — grab both.
The Nameless Path and the pit
Exit and climb the slope, left side: the mobs there guard three Red Stones. Then bear right along the road, clearing as you go, to the fork — take the crack into the crevice first, grabbing the Heart Stone before dropping down past four thoroughly unpleasant skull mobs.
Continue to the marked junction: left again, into a Backplate Stone. Push on to activate the Nameless Path Beacon, cleanse it, and enter the Hateful Ravine — the pipe mobs die fastest to ranged fire. At the pipe's end: right for the Charged Stone chest, left for the Ova. Deliver, return.
Unlock the Shell at the left-front of the Beacon as boss insurance. At the road's end, do not jump yet — sweep the deepest alcove first for the Withered Gland. Now jump: the Hexapod boss fight begins.
The Hexapod
The Hexapod is honest but huge: simple movesets, telegraphed charges, and a backside that might as well have a sign on it. Dodge-first play beats parry-first here — the execution reward is not worth the risk. Stay behind it, punish the recoveries, and if the fight stalls, leave and return with the Genessa Shell's summon — the community's favorite crutch.
Victory pays the Hexapod Core Tarstone and unlocks the Hexapod Burrow Beacon. Cleanse it, collect the Ova, and return to Marrow Keep.
Keep reading: