Mortal Shell II Walkthrough — The Sackhead Secret Ending

Published 2026-09-173 min read

The secret sack ending of Mortal Shell II: the exact dialogue answers, the special private brew, and the achievement it unlocks. Warning — starting this line commits you to the secret ending, so save first.

Mortal Shell II hides a second, stranger ending behind a burlap conversation. Follow it to the end and the game skips its own finale for something drier and funnier — plus an achievement for your trouble. This dialogue commits you to the secret ending, so save before you begin.
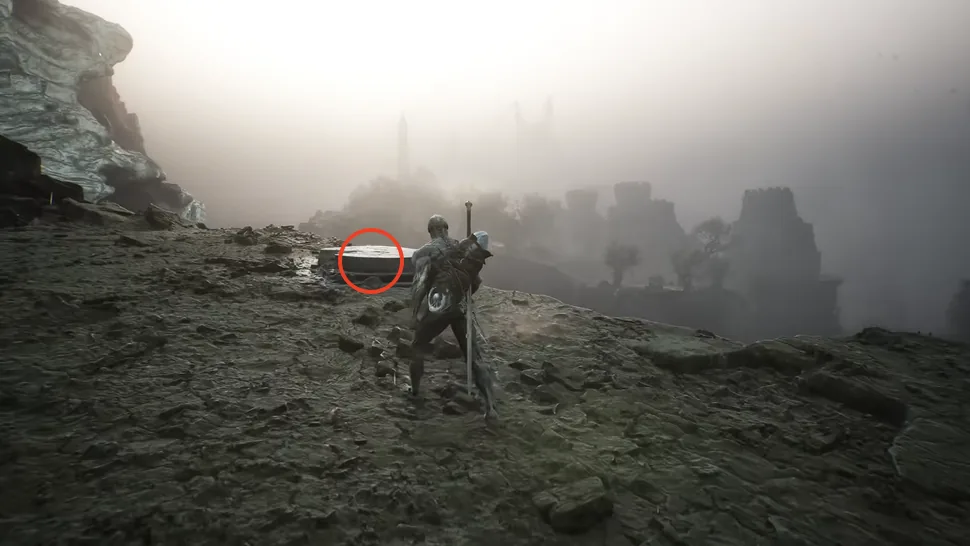
The Sackhead NPC of Mortal Shell II
Three conversations, one bottle, one very odd ending.

When to start

The Sackhead stands just left of the exit of the Conjuror's Hideout dungeon in Gloomshade Grove. Do this before you trigger the real ending — the line cannot be completed after the credits, and the guide's standing advice holds: save first.

The dialogue route

  1. Speak with the Sackhead after leaving the dungeon.
  2. Answer "yes" to his first question.
  3. When the conversation ends, pick up the Special Private Brew behind you.
  4. Talk to him again — this time answer "no."
  5. Return to the brew's pickup spot and put the Special Private Brew back.
  6. Speak with him once more and answer "yes" to every remaining choice.
  7. Talk to him one final time. The scene plays, the secret ending unlocks, and the Sackhead achievement lands.

That is the whole ritual: yes, steal his drink, no, put it back, yes to everything. He appreciates the honesty. Probably.

Keep reading:

Related Guides


Mortal Shell II Walkthrough — Withered Shoals (Gates, Portals & the Hexapod)Mortal Shell II Walkthrough — Widow's Overlook (Chapter 3: Bosses, Dungeon & Tiel)Mortal Shell II Walkthrough — Valley of the Revered (Winter Lake to the Conqueror)Mortal Shell II Walkthrough — The Ending (Final Area, Branches & the Invader)Mortal Shell II Walkthrough — Sester's Refuge (The Monastery & the Censer)Mortal Shell II Walkthrough — Sanguine Caverns (Bosses, Beacons & Every Tarstone)Mortal Shell II Walkthrough — Ruins of Nochte (Smert Ritual, Witch Pit & Silent Gate)Mortal Shell II Walkthrough — Prisoner's Domain (Four Bosses to the Bottom)Mortal Shell II Walkthrough — Outskirts of Mammon (Witch Pit, Smuggler's Den & the Outpost Road)Mortal Shell II Walkthrough — One-Legged Wolf Tavern (Gragu, the Lute & the Toad Quest)Mortal Shell II Walkthrough — Mushroom Village (Chapter 4: Doors, Keys & the Axe and Dagger)Mortal Shell II Walkthrough — Marrow Keep (The Hub: NPCs, Upgrades & Fast Travel)Mortal Shell II Walkthrough — Glutted Mire (Fallen Village, Magdalena & the Etching Needle)Mortal Shell II Walkthrough — Gloomshade Grove (Trials, Dungeons & the Sackhead Gate)Mortal Shell II Walkthrough — Prologue & Forlorn Village (Chapter 1)Mortal Shell II Walkthrough — Faded Citadel (Sariel, the Forgotten Tower & the Axe Blade)Mortal Shell II Walkthrough — Disciple's Grotto (Chapter 2)Mortal Shell II Walkthrough — Citadel of Penance (The Warden, Eredrim & the Martyr's Blade)Mortal Shell II Walkthrough — Castigator's Keep (Blackwell, the Hungry Hag & the Wraith Halls)Mortal Shell II Walkthrough — Blackridge Cliffs (Flooded Village, the Shattered Beacon & Proxima)Mortal Shell II Walkthrough — Ashen Sanctum (Blue Flames, Sonier & Sir Isaac)Mortal Shell II Walkthrough — Abandoned Outpost (Royal Crypt, Velen & the Obsidian Mines)