Mortal Shell II Walkthrough — Citadel of Penance (The Warden, Eredrim & the Martyr's Blade)
Published 2026-09-176 min read
Full Citadel of Penance walkthrough for Mortal Shell II: the sack teleport into the cells, the Warden boss and the Eredrim Shell, the Synaptic Vessel in the opened gate, and the Martyr's Prison dungeon hiding the greatsword.
The Citadel of Penance chapter is short, vertical, and extremely rewarding: a Shell behind a warden, a vessel behind a gate, and one of the game's best greatswords behind a prison. Here is the clean route.
Into the cells
Teleport to the One Legged Wolf Beacon and take the left mountain road up, dropping to the lower platform at the marked spot. Straight ahead, turn left up the stairs, and interact with the sack on the wall — the teleport that slips you inside the Citadel of Penance.
Exit the cell and turn right; ride the marked elevator up. At the top, push forward into the Warden boss arena.
The Warden and Eredrim
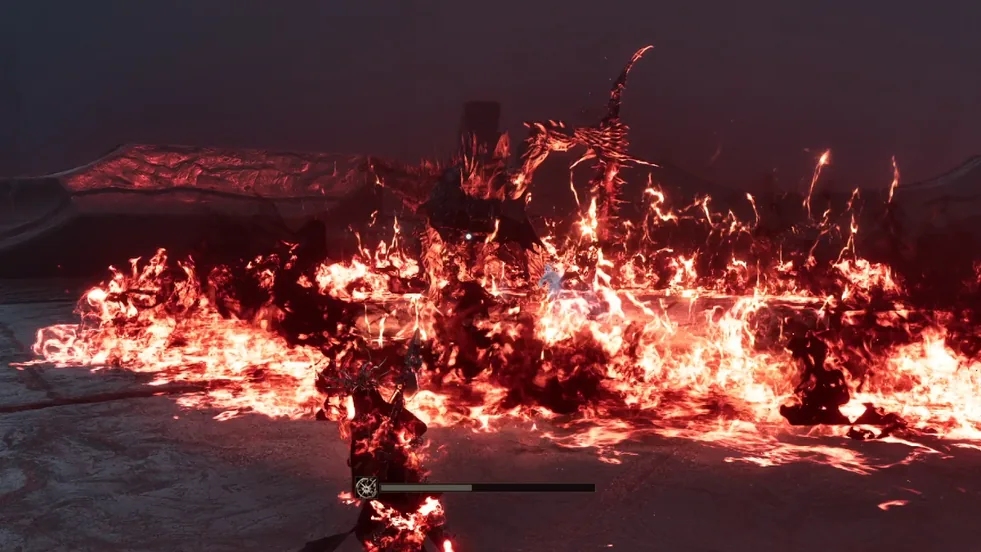
The Warden's long combination chains are the whole fight: not every strike can be safely blocked, so bring Tiel's Shadow Dash pairing and punish the recoveries instead of trading. Kill him — and the Eredrim Shell unlocks beside the arena, with its Shell Memory scene.
Use the switch to open the gate and claim the Synaptic Vessel inside. Through the door and left, run the passage to its end and ride the device up.
The walls and the map
Follow the road into the gate; Ruk waits on the right — his conversation marks Fainweald Map Fragment 2 beneath the statue. Open the great door with the lever and push on: the broken bridge's end hides a chest with the Bulwark Stone.
Return to the gate and take the left road into the marked cave: the chest inside holds the Grudge Stone, with coins on the adjacent wagon. The Citadel of Penance Beacon unlocks on the slope — cleanse it, climb the stairs, cross the bridge, and follow the building's right-side stairs upward, then right along the forward road.
The Martyr's Prison
Back at Ruk's gate, enter the great door again and drop from the left gap. Run the road forward, loot two Heart Stones, and read the note on the wall — it points to the Fortress Gate Lever you looted in Gloomshade Grove. Follow the arrow out of the cave: a meditation point and a Beacon wait at the exit — the Gloomshade Grove Beacon, linking the two halves of your map.
Clear the road, open the chest for Nochte's Fang, and grab the Common Smuggled Wine from the crates. Up the slope, left, and out past the right-side house for another Common Smuggled Wine — then into the dungeon ahead. Interact with the object on the table to enter the Martyr's Prison: open the cell with your weapon, then the left cell, press the switch inside, and follow the opened gate right. Clear the room, break the crates into the right room — and loot the Great Martyr's Blade from its stand. Ride the light home.
Keep reading: