Mortal Shell II Walkthrough — Widow's Overlook (Chapter 3: Bosses, Dungeon & Tiel)
Published 2026-09-177 min read
Full Chapter 3 walkthrough for Mortal Shell II: the Widow's Overlook beacon and Epiphany, the trial and the toad-fed mushroom quest, the Flesh Arbiter boss, the Martyr's Tomb dungeon and the graveyard where Tiel sleeps.
Chapter 3 returns to the Widow's Overlook with new eyes: a boss below the Beacon, a dungeon in the tower, a toad with a taste for mushrooms, and a graveyard where the chapter quietly ends. Everything is close — which is the point.
The Beacon and the trial
Choose the crossing to Widow's Overlook. Enter its Beacon and claim the Epiphany — the currency for deepening Shell bonds with Zhileira. Below the camp, the crates hide a readable note; the stairs climb to the trial challenge, which pays the Castigation Stone. A Mushroom grows under the great tree right of the Beacon — grab it. It feeds the toad.
Exit into the cave and speak with the Devouring Toad inside. Outside, kill the cliff-top enemies for a Heart Stone, return, and feed the toad your mushroom for the Marsh Pearl.
The Flesh Arbiter
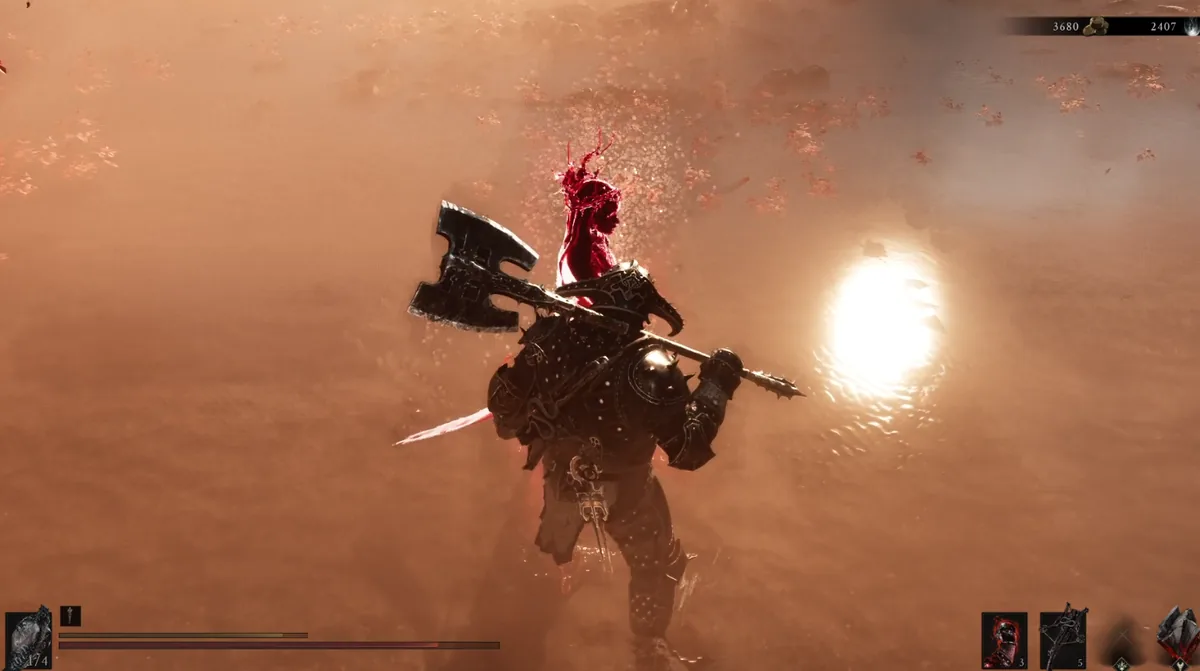
Rest at the Beacon, then take the area below it: the Flesh Arbiter boss waits. Beat him for the Arbiter's Prize — the blood-curse Tarstone — and loot the Revered Gland from the stone figure to the right, plus Gloomfire from the nearby statue.
Descend the road and clear the lower mobs, then loot the Scorched Doll from the cliff-side statue on the right. Back up and left, clear the area and enter the building: the table inside holds a second Scorched Doll.
The Martyr's Tomb
The building's lower level holds the Martyr's Tomb dungeon. Ride the elevator down, clear the cells, break the left crates, and press the door device. Read the room's note, open the chest for the Obsidian Lathe (a Tarforge upgrade for Franz) and the Parasitic Stone — then shoot the button above the door to leave.
Outside: left road, right turn, a Red Stone; the descending road past the mobs holds a Heart Stone. Ride the device platform up to Ruk for the conversation, and collect Fainweald Map Fragment — the overlook's map — beneath his statue.
The camp, the graveyard, the chapter's end
Drop from Ruk's position to the forward camp: clear it, loot the Common Private Brew and the readable log, and enter the torch-marked stockade. Accept the prompt to control the unknown Shell — its memory scene delivers Tiel, the Acolyte, no fight required. The left side of the house holds another Common Private Brew; the right, a chest with the Lethality Stone and the Ritual Grounds dungeon — an elite-guarded climb worth a 500-coin chest and an Epiphany at its trial.
Exit, meditate at the cliff overlook, and return to the Beacon: ride back to Marrow Keep, spend Epiphanies with Zhileira to deepen Shell bonds, hand Franz the Obsidian Lathe — the Tarforge learns sidearm upgrades — and let Chapter 3 close.
Keep reading: