Mortal Shell II Walkthrough — Outskirts of Mammon (Witch Pit, Smuggler's Den & the Outpost Road)
Published 2026-09-176 min read
Full Outskirts of Mammon walkthrough for Mortal Shell II: the trial and Witch Pit dungeon, Vlas's empty cage, the Smuggler's Hideout, and the road down to the Abandoned Outpost Beacon.
The Outskirts of Mammon introduce the game's second overworld region: a trial, two dungeons, a giant's empty cage, and the road that opens the Ruins of Mammon proper. Efficient order below.
The trial and the Witch Pit
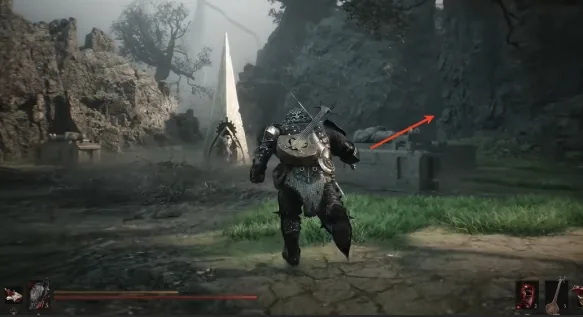
Fast travel to the Outskirts of Mammon Beacon. Take the left slope down and start the trial challenge — the glowing growth on the nearby cliff hides a Red Stone. Victory pays the Enfeebling Stone.
Behind the Beacon, descend to the camp below and open its chest for the Forging Stone. The cave at the mountain's right foot leads into the Witch Pit dungeon: drop from the platforms, clear the area, take the 1,000 coins and the Red Stone on the crates, and leave.
Vlas and the cage
Ride the right-side camp road, cross the bridge, and turn ahead-left to trigger the Vlas conversation. Talk with him on the upper platform, inspect the great empty cage for a Mammon Coin, and shoot the rope ahead to drop the plank. At the plank road's end lies Simple Ammunition, with a readable note on the corpse beside it.
Double back, take the right road to the device crossing, and climb the slope through the right passage. Another Ruk conversation marks a Map Fragment beneath his statue; cross the bridge ahead of the statue and clear the camp — its crates hold Common Smuggled Wine.
The Smuggler's Hideout and the road on
The camp's dungeon, the Smuggler's Hideout, hides a chest behind its waterfall — Mammon Coin again, plus two Heart Stones in the adjacent crates. Two enemies respawn on the exit path; expect them.
Return to the statue, cross the bridge behind it, and ride the road-end device across. Take the left slope down to unlock the Abandoned Outpost Beacon, open its chest for 1,000 coins, break the crates to drop into the lower room, clear it, and press the wall switch. Back upstairs, the opened room's chest holds the Grudge Stone. Cleanse the corruption, carry the Ova home — and the district is done.
Keep reading: