Mortal Shell II Walkthrough — Marrow Keep (The Hub: NPCs, Upgrades & Fast Travel)
Published 2026-09-175 min read
Marrow Keep is Mortal Shell II's hub: the Ova altar, Genessa's training, Merrick's shop, the Tarforge and the fast-travel device. Everything the citadel offers, in one loop — including what to hand Franz.
Marrow Keep is the spine of every run: the place where Ova becomes progress, Gloom becomes levels, and coins become power. This guide loops the hub's NPCs in the order a new Harbinger needs them.
Arrival and the first lesson
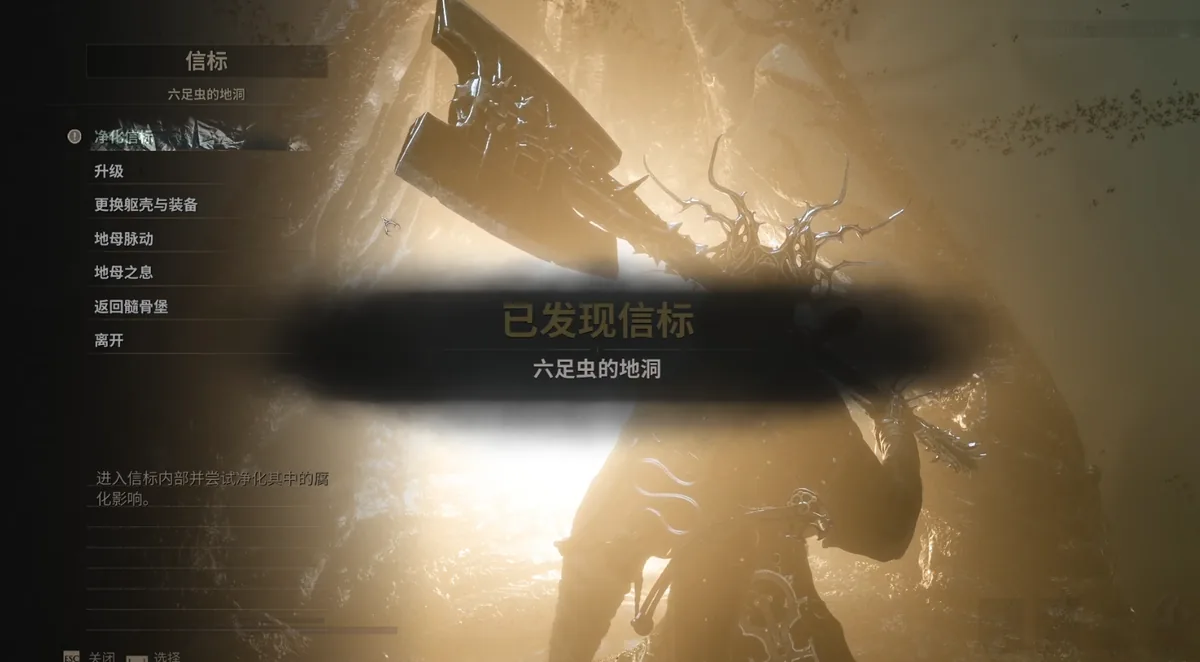
Run the road, deliver the Ova at the gate, and speak with Zhileira — then take the door behind her to unlock the Marrow Keep Beacon, the hub's fast-travel heart.
Through the front door and left, Genessa the nun offers training. Beat her — the trick is filling the posture bar with perfect parries until the execution triggers — to unlock her as an NPC and earn the Endless Seal.
The left wing: Siphon, shop, forge
- The Gloom Siphon stands down the left stairs: an NPC who drains Gloom, with story notes for readers.
- Merrick, past the Siphon to the right, sells weapons' location hints, Tarstones and practical stock — the Acolyte's Stone and Unwieldly Stone live here.
- Franz at the forge takes the collectibles you have been hauling — Obsidian Lathe, Etching Needle and friends — each delivery upgrading the Tarforge and unlocking new upgrade tiers, eventually including sidearm enhancements.
The right wing and the fast travel
Right of the entrance, another NPC holds the Butcher's Seal conversation line. The chamber beyond hosts the Gloom Siphon engine (more reading), and the elevator rises to the statue terrace — read its inscription, then activate the device to fast travel to any cleansed Beacon in the world.
Why the loop matters
Every delivery here compounds: glands become flask charges at Beacons, Ova becomes story progress at the altar, coins become stones at Merrick's, and Franz's forge keeps your weapons level with the enemies ahead. Make the loop a reflex — after every region, before every boss.
Keep reading: