Mortal Shell II Walkthrough — Sanguine Caverns (Bosses, Beacons & Every Tarstone)
Published 2026-09-177 min read
Full Sanguine Caverns walkthrough for Mortal Shell II: the Lucian the Hollow Knight chase fight, four beacons down the descent, the Sunken/Maggot/Blackblood stone rewards, and the Magdalena-road exit back to the Marrow Keep.
The Sanguine Caverns are Fainweald's longest Fall Gate — a vertical descent through four Beacons, two hide-and-seek boss fights, and a half-dozen Tarstones. Bring ranged ammo and patience; this guide brings the order of operations.
From the grove to the first gate
Fast travel to the Gloomshade Grove Beacon, follow the right wall down, and take the left passage to cleanse the corruption in your path. Clear the area, smash the wooden cart, sweep the supplies, and cross the bridge into the caverns proper — the right-side camp holds Common Smuggled Wine and coins.
The first knight: Lucian
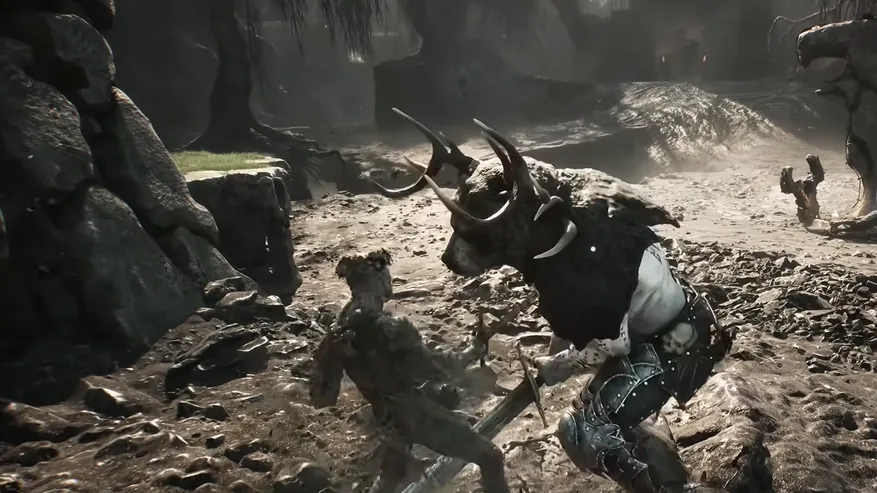
Climb the left slope to a meditation point, drop from the marked ledge, and work up the left passage. The Bloodcursed Gate Beacon unlocks on the route — cleanse it, enter, and take the left's first room: squeeze through the crack and loot the Red Stone from the cell. The second room's switch opens the door north, and at the corridor's end waits Lucian, the Hollow Knight.
He flees. Wound him and he escapes through a crack — follow him into the room, where he turns invisible. Kill him properly this time for the Serpent Stone. Cleanse the corruption, carry the Ova back to the Beacon, and return to the surface through the shining gate.
Down the chain
The descent continues past a Red Stone on the road and a chest holding the Deadeye Stone, then drops into a cave holding a Synaptic Vessel. Cross the wooden bridges, and the Pulsing Cavern Beacon unlocks. Inside, the left route crosses a bridge to a chest holding the Blackblood Stone — cleanse, carry, return.
Drop into the cave ahead, shoot the three eggs on the right with ranged attacks, then break the rock behind them: the chest inside holds the Mother's Flesh. Out the cave mouth, hug the cliff, cross two bridges, and the Scarlet Coast Beacon unlocks. Its crack hides a Revered Gland.
The maggot and the lost child
The jump device across the coast drops you at the Maggot-Fiend boss. Kill it for the Bile Remnant stone, drop from the left, and sweep the chest for the Marsh Pearl before doubling back for Nochte's Fang. Ride the devices back to the coast Beacon, then up the left cave — where Ruk waits for a conversation and the Lost Child boss gates the crack beyond.
Kill it for the Lost Clotstone, and the Whelp's Feeding Ground Beacon unlocks. Cleanse it, carry the Ova back, and deliver everything at the Marrow Keep.
Keep reading: