Mortal Shell II Walkthrough — Ruins of Nochte (Smert Ritual, Witch Pit & Silent Gate)
Published 2026-09-177 min read
Full Ruins of Nochte walkthrough for Mortal Shell II: three circles for the Smert Shell, the Witch Pit and Waterfall Camp dungeons, the Silent Gate boss Varigo, and Map Fragment 1 on the statue road.
The Ruins of Nochte blend a dying village with the game's strangest Shell ritual: three stone circles that must run red before a corpse gives up its body. This route covers all of it, plus the district's two dungeons and the gate boss at the end.
The descent and the village
Fast travel to the Gloomshade Grove Beacon, drop straight down, and follow the left cliff — the road switchbacks through an arch and uphill. Loot the Red Stone from the sarcophagus on the platform, drop from its left, and clear the village. Behind the right-hand building, boards conceal the Disciples' Hideout dungeon: an elite guards a chest of five Heart Stones (plus coins behind it).
The catfish and the Mango Sanctuary
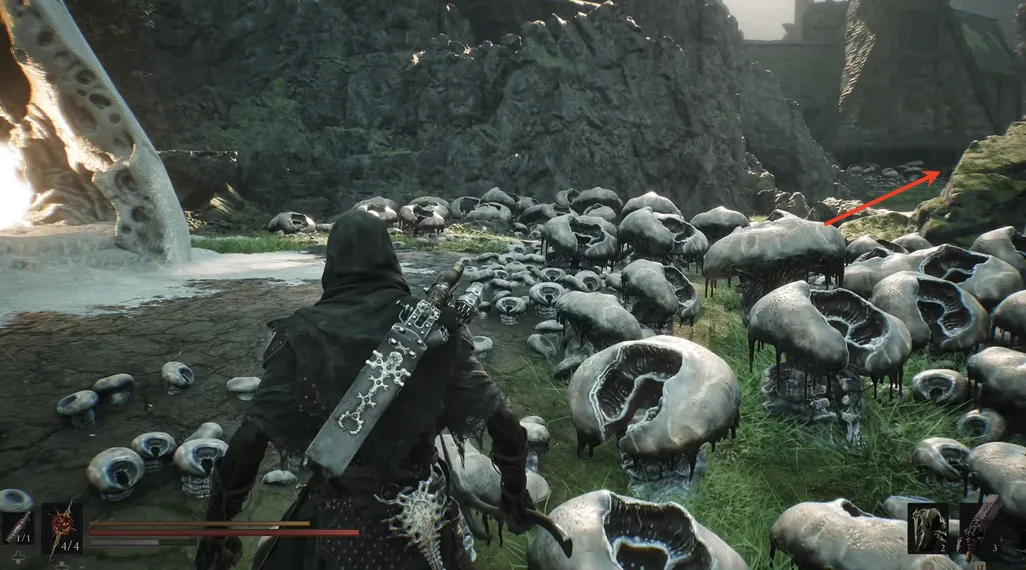
Above the village, the waterfall cave hides loot — and the catfish who wants the Mother's Flesh. Feed it and be swallowed into the Mango Sanctuary: ride the descending road, grab the Mango, and touch the light to return. Past the arches, the Ruk conversation marks Fainweald Map Fragment 1 beneath the statue.
The Beacon, the illusion and Smert
Down the slope, the Ruins of Nochte Beacon unlocks. Cleanse it, enter, and strike the wall with your weapon — the illusion parts. Climb, ride the device up, clear the upper floor, and open the chest for the Hag Stone. Drop down, cleanse the corruption, return the Ova.
Then the ritual: past the Beacon's left arch, lure enemies into the three stone circles until each runs red. All three filled, the coffin beside them yields the Smert Shell — and its Shell Memory scene plays. (Full ritual detail in the Smert guide.)
Dungeons and the silent gate
Back past the Beacon, the swamp road leaves the village and climbs through the gate: a device jump reaches a meditation point and a 500-coin chest. The button on the stone wall opens the Waterfall Camp dungeon — its chest holds Mammon Coin. Up the waterfall's left side, the sarcophagi fields yield Gloom and items; the device crossing lands on the bridge beside another meditation point.
The final road runs through a bandit camp — Common Private Brew, a 750-coin chest, a rope shot down with ranged attacks — to the Silent Gate Beacon. Its descent holds a 1,500-coin chest, and its arena the district boss: Varigo, Champion of Soligar. Kill him for the Voltaic Crown, cleanse the corruption, deliver the Ova — and the chapter closes.
Keep reading: