Mortal Shell II Walkthrough — Glutted Mire (Fallen Village, Magdalena & the Etching Needle)
Published 2026-09-177 min read
Full Glutted Mire walkthrough for Mortal Shell II: the crossbow traps of the fallen village, the Grasping Root boss, the Shepherd and his sheep, and the Magdalena fight that ends with an Etching Needle for Franz.
The Glutted Mire chapter is a swamp of crossbow traps, sheep-related boss mechanics, and the game's most important crafting drop: the Etching Needle, which upgrades Franz's forge forever. Bring a shield of patience.
Through the gate and the village
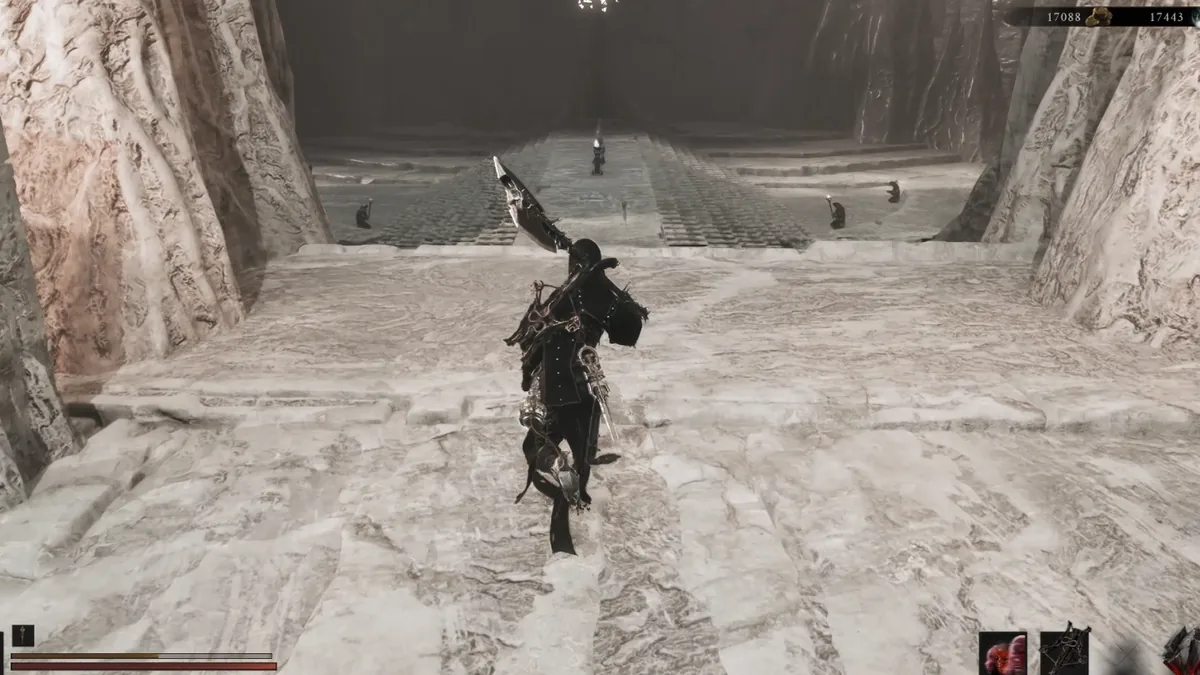
From the Mushroom Village Gate Beacon, pass the glowing door into the next region — mind the crossbow traps on the approach road. Kill the elite at the door, enter the village from the left, and clear it: shooting the marked explosive barrels does most of the work. The village chest holds the Siegebreaker's Stone; a mob guards its right side.
Exit through the village gate and the Seeping Mire Beacon unlocks. Cleanse and enter, clear the area, and beat the Circle of the Grasping Root boss. Cleanse the corruption — and before leaving, sweep the marked spot for a Synaptic Vessel. Then carry the Ova home to the surface.
Bridges, elites and the fallen village
Take the forward rope bridge, kill the elite for 350 coins, and follow the right cliff to the marked right-turn descent. Cross the next rope bridge. Two elites wait on the area's left; the statue cluster's chest holds the Shrike Stone — the dodge-tool the final boss famously respects.
Clear the leftovers, take the marked door, and the Fallen Village Beacon unlocks atop the ascent. Cleanse, enter, clear, and ride the left elevator down. Strike the object beside you for Gloom, press the pressure plate left of the door, ride back up, clear — then drop from the cliff edge onto the rocks below. Clear the lower enemies and open the chest for the Corroded Stone, cleanse the corruption, deliver the Ova.
The Shepherd and the Lady
Back at the Beacon, take the marked road: kill the mobs, loot the Revered Gland and 350 coins up the stairs, then rest and enter the left area — the Wandering Shepherd boss. His gimmick: killing his sheep builds his posture bar. The flock is the health bar; the shepherd just stands there. Kill him for a Ram-Head Totem and clear the elite that spawns.
Break the crates by the wooden door, squeeze out, and climb the stairs for coins. Cross the bridge to Ruk — the chest beneath him holds the Etching Needle. Deliver it to Franz at Marrow Keep and the Tarforge gains its next tier. (Save one Epiphany first — you may want a Shell summon for the next fight.)
Return to the fallen village, jump from Ruk's left, and enter the left cave. Outside, unlock Shell summoning if you have not, drop down, and face Magdalena, the Lady of the Woods. Her Magdalena's Memento drops on death. Cleanse the unlocked Beacon, return the Ova — and let the cutscene carry you home.
Keep reading: