Mortal Shell II Walkthrough — Valley of the Revered (Winter Lake to the Conqueror)
Published 2026-09-176 min read
Full Valley of the Revered walkthrough for Mortal Shell II: the log-bridge gauntlet, Winter Lake's beacon and tomb, the bell-repair shortcuts, Executioner Urig, and the Conqueror Zrog boss with his Conqueror's Reward.
The Valley of the Revered is the conquered temple's outdoor gauntlet: single-log bridges, archers with kickbacks, a sunken lake, and a conqueror at the end of it. Slow is smooth; smooth survives this chapter.
Into the valley
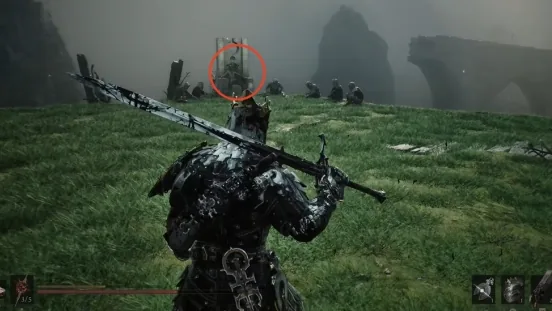
From the Sisters' Gate Beacon, pass through the gate behind it and run the long road into the valley — its sides line with Martyrs' Ashes, Heart Stones and Backplate Stones. Both forks rejoin the same road, so take either.
The valley's signature hazard: single-log bridges patrolled by archers with devastating knockback. A hit is a fall, and a fall is death. Clear what you can from range, cross slowly, and hold the guard button when a dodge will not make the window.
Winter Lake
At the road's end, the stairs descend to Winter Lake — and the Winter Lake Beacon unlocks. Cleanse it, then enter the Tomb of Chill Agony: collect the Immaculate Crown in its corner, open the three doors in sequence, and beat the Imprisoned Grishash at the bottom for the Fusillade Stone and Grishash Residue. Cleanse the Ova and return.
The bell bridges
Back at the lake, strike the bells on the broken bridge to repair it — the lake's signature trick, and the valley's shortcut system in miniature. Clear the lake mobs, find the air-current device in the corner, and ride it up to a portal.
Across: the fork pays a Backplate Stone to the left; the right rings another bell, repairing a bridge and unlocking a permanent shortcut. Straight ahead, three mobs guard a chest holding the Pulse Stone.
Urig, the Prophet's chamber, and Zrog
The deep pit ahead drops onto the elite Executioner Urig — his kill pays the Watcher's Stone. Ride the air current up to the elevator but skip it for now: the stone chair on the right holds a Backplate Stone. Then ride up to unlock the Prophet's Chamber Beacon. Cleanse it and clear the Ransacked Tomb of its Tyrant Thralls, Ova included.
The road ahead ends at a portal and the Conqueror Zrog boss arena. He is famously manageable with a summon build — Genessa's duplicate keeps his attention while you work the flanks. Kill him for the Conqueror's Reward, and the Conqueror's Tide Beacon unlocks. Cleanse it, deliver the Ova, and ride home to Marrow Keep.
Keep reading: