Mortal Shell II Walkthrough — The Ending (Final Area, Branches & the Invader)
Published 2026-09-179 min read
The complete endgame walkthrough of Mortal Shell II: opening the underground road from Marrow Keep, severing the red monolith's three branches, every boss from Oralech to the Monolith, and the final fight with the Invader Zmeu.
The endgame of Mortal Shell II is one long descent: an unmapped region below Marrow Keep, a corrupted Beacon sealed behind three severed branches, and the hardest fights in the game lined up along the way. This guide walks the whole road, in order.
Opening the road
Return to the Marrow Keep Beacon and approach the ovum altar — a cutscene opens the underground passage. Drop into the pit, ride the portals across the platforms, and clear toward the corrupted Beacon: it stays dark until all three branches of the red monolith are severed. This first pass is reconnaissance.
Branch one — right road: follow the lower road, portal across, and climb to the elevated bridge checkpoint (full beacon detail). Clear the barren shrine, deliver the Ova, cross the bridge, and beat the two-phase Oralech — his second form is famously tractable with Genessa's summon. The rising platform opens the hollow cradle Beacon; cleanse it, clear its shrine, sever the first branch.
Branch two — right road again, deeper: cleanse the audience-bridge Beacon, then push to the next arena and its guardian. Deliver, cleanse, sever the second branch.
Branch three — the left cave: return to the Forgetting Chamber's cave and exit right. Ride the air-current to the upper portal, clear to the wide court, and cleanse the monks' court Beacon. Continue the linear road through the root-choked hall to the obsidian vault Beacon — cleanse it, open the great door, clear the Residue shrine — and face the Monolith: pure numbers, omnidirectional laser, no cleverness allowed. Bring sustain and patience. Sever the third branch.
The hidden nave
The corrupted Beacon finally lights — the hidden nave. Take the torch at its entrance and follow the lit road, looting the Vapors and the Endless Core. The great hall beyond is full of chests holding 1,000 Gloom each — farm them freely, level up, and spend everything at the altar. With the Beacon's rear corruption gone, the summoning sign now offers Tiel as an ally.
One caution: firing the Ova ends the cycle. If collectibles or the secret ending are still on your list, finish them first.
The Invader
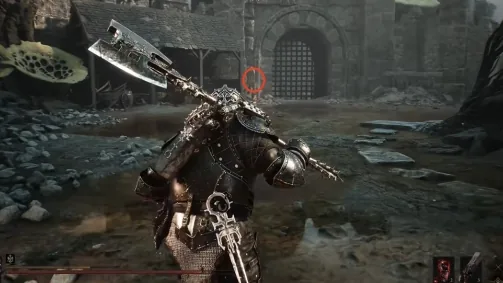
Through the final door waits the Invader Zmeu — the game's last stat-check, with sweeping attacks and a late-phase fire ring that punishes standing still. Bring invincibility-frame tools (the Shrike Stone's dodge effect is the standard answer), use Tiel's summons to split attention, and refuse to be rushed.
Win, watch the ending, and wake at Marrow Keep. Firing the Ova there closes the cycle — and anything else you still owe this world, pay before you do.
Keep reading: