Mortal Shell II Walkthrough — Castigator's Keep (Blackwell, the Hungry Hag & the Wraith Halls)
Published 2026-09-177 min read
Full Castigator's Keep walkthrough for Mortal Shell II: the fortress walls and Blackwell Cavern, the Endless Bone-Field and the Hungering Hag, the Whispering Halls, the Forbidden Library and the Wraith-Bound boss.
Castigator's Keep is the fortress chapter of the Ruins of Mammon: two dungeons, a bone-field boss, a light-lamp gimmick, and a wraith that punishes greed. The Triarch Repeater alone justifies the trip.
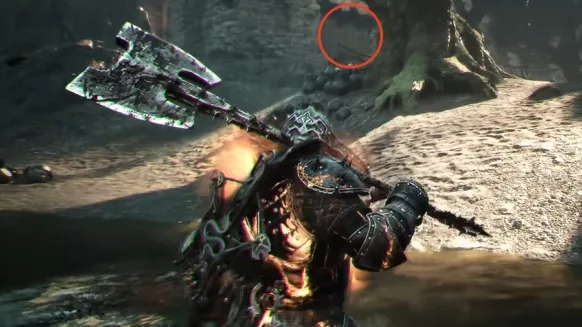
Up the walls
Teleport from Marrow Keep to the Outskirts of Mammon, take the main gate road straight, and cross the Road to Absolution bridge to its end — the portal there lands you at the keep's gate. Clear the mobs, enter, turn right, and climb the stairs to the wall walk where the Castigator's Keep Beacon unlocks.
Cleanse it, clear the mobs, pull the lever to open the great door, and cleanse the Ova. Ride the elevator down — the road below is honest and linear. At the three-mob group, press on into the Blackwell Cavern dungeon: fight blind in the dark, use lock-on, and claim the Triarch Repeater at its end.
The Endless Bone-Field
Exit and cross the succession of bridges. At the marked spot, a hidden wall breaks for the Unstable Stone. At the road's end, the portal crosses to a mob-run road and Mammon Map Fragment 3. Ride the air-current device up, clear the mobs, and find the dungeon mouth on the right: the Whispering Halls, worth a Red Stone sweep.
Leave, take the LEFT of the two entrances ahead, clear the mobs, and exit back toward the great door — which now opens onto the Beacon for rest and resupply. (The castle NPC who doubles any Gloom you tithe him is worth remembering on rich days.)
Take the second entrance now: clear the mobs, ride the elevator up to the Endless Bone-Field, and meet the Hungering Hag. Her drops are the Voltaic Essence and Voltaic Amber. Through the crack beyond, the stairs climb to the second floor — map note on the right, and the left trial pays the Thief's Stone.
The lamp road and the library
Top of the stairs, through the portal: destroy the fire-lamps first — lit, the enemies turn blue-lit and invincible. Clear them, and the Vestige of Infinity Beacon unlocks beyond. Cleanse it and enter the Forbidden Library: clear the mobs, unlock the mechanism, and the Wraith-Bound boss waits at its heart. His kill pays the Curseblood Stone — cleanse the Ova and carry everything home.
Keep reading: